Thursday, 8 December 2016

Simple Planets


I've finally done some more Blender work, inspired by the purchase of a course of tutorials, all about space. See Space VFX by creative shrimp.

The following outputs were produced after watching and mostly following the first tutorial on how to create a simple planet.

I made a few changes to the workflow which I thought would improve things, only to have my changes derail the tutorial about half way through. I considered the results still good enough to keep --- they incorporate some really clever touches that I would never have worked out for myself.


The planet texture consists of two ground maps supported by a third masking layer map.


Friday, 7 August 2015

Traveller Type-S Scout

Blowing the dust from Blender while putting the latest version 2.75 through its paces.


Tuesday, 27 May 2014

A change of heart about Photoshop plugins


Still learning what keys to press

I'm still learning shortcuts, critical ones too -- Cntl+Up Arrow for going full screen on your current view. I can't believe I battled on without learning that one for so long. I've been reminded of this little tool on Facebook's Blender group:
http://waldobronchart.github.io/ShortcutMapper/#Blender  This too: http://download.blender.org/documentation/BlenderHotkeyReference.pdf


Digital Heavens cosmic pack 3 

I'm not very keen on quick plugin solutions because they can dull my artistic senses - if you use Photoshop then you'll have had that experience of seeing someone's work and immediately recognising the work of a filter, probably because it was applied with little or no tweaking -- it just kills the work for you. I held off buying Cosmic Pack 3 product from Digital Heavens because of this fear - that if I use cosmic pack 3 outputs in my work anyone familiar with the product will very likely recognise that I used it to shortcut the creative journey.

..and that's when I bought it anyway

Well, the lack of time that I have to spend being creative has forced me into a change of mind - I wanted to create some more planet maps but realised that I could spend a week just making a few maps without getting any actual work done. Not to mention that you can use these off-the-shelf tools as a starting point and make sure that you don't finish until the output is refined enough that it doesn't look like other example Cosmic Pack work.

Blender output using Cosmic Pack 3 starfield and planet maps.

I only had time to blindly run through a quick planet creation, there were some quirks that I need to research as I expected prompts for modifying masks and layer qualities, such as scale, however, I am instantly impressed. I'm seeing Cosmic Pack 3 more as an extended palette for space scenery and less like an stamp-on solution for generic space backgrounds.

Sunday, 11 May 2014

Still blending...


Just to be clear, the lack of posts isn't because I stopped working with Blender -- if anything I've become more focused since the last update, spending a  lot of time going back and improving work, tackling stuff that I've previously hated -- specifically UV mapping and texture mapping. 


Suffering for Suffren

I completed my build of the 2300AD star ship IFV Bassompiere - a Suffren-class cruiser and was happy enough with the results that I decided that it was going to get the full texture mapping treatment. That took ages! I restarted the process about three times, but the underlying workflow is steady and pretty easy - thanks to the regular forms that make up the model.


Boxing out the basic form - getting the proportions right. This was about the fourth attempt.

The Suffren has a really simple form. Getting a lot of detail onto those flat surfaces helps break up the form and give the viewer a better sense of scale.

Time to paint it up. Each section had its UV exported then applied as a mesh which gives an interesting 'look' in its own right. I did this stage three times, each time trying to optimize how the meshes unwrapped.

Texture mapping underway. With a good UV setup texture mapping gets a lot easier. I've spent years getting nowhere with mapping because of building out of lots of unconnected meshes. Finally getting somewhere!

Model -almost finished, here. Some glowing lights need to be added. The three Landers attached at the back.

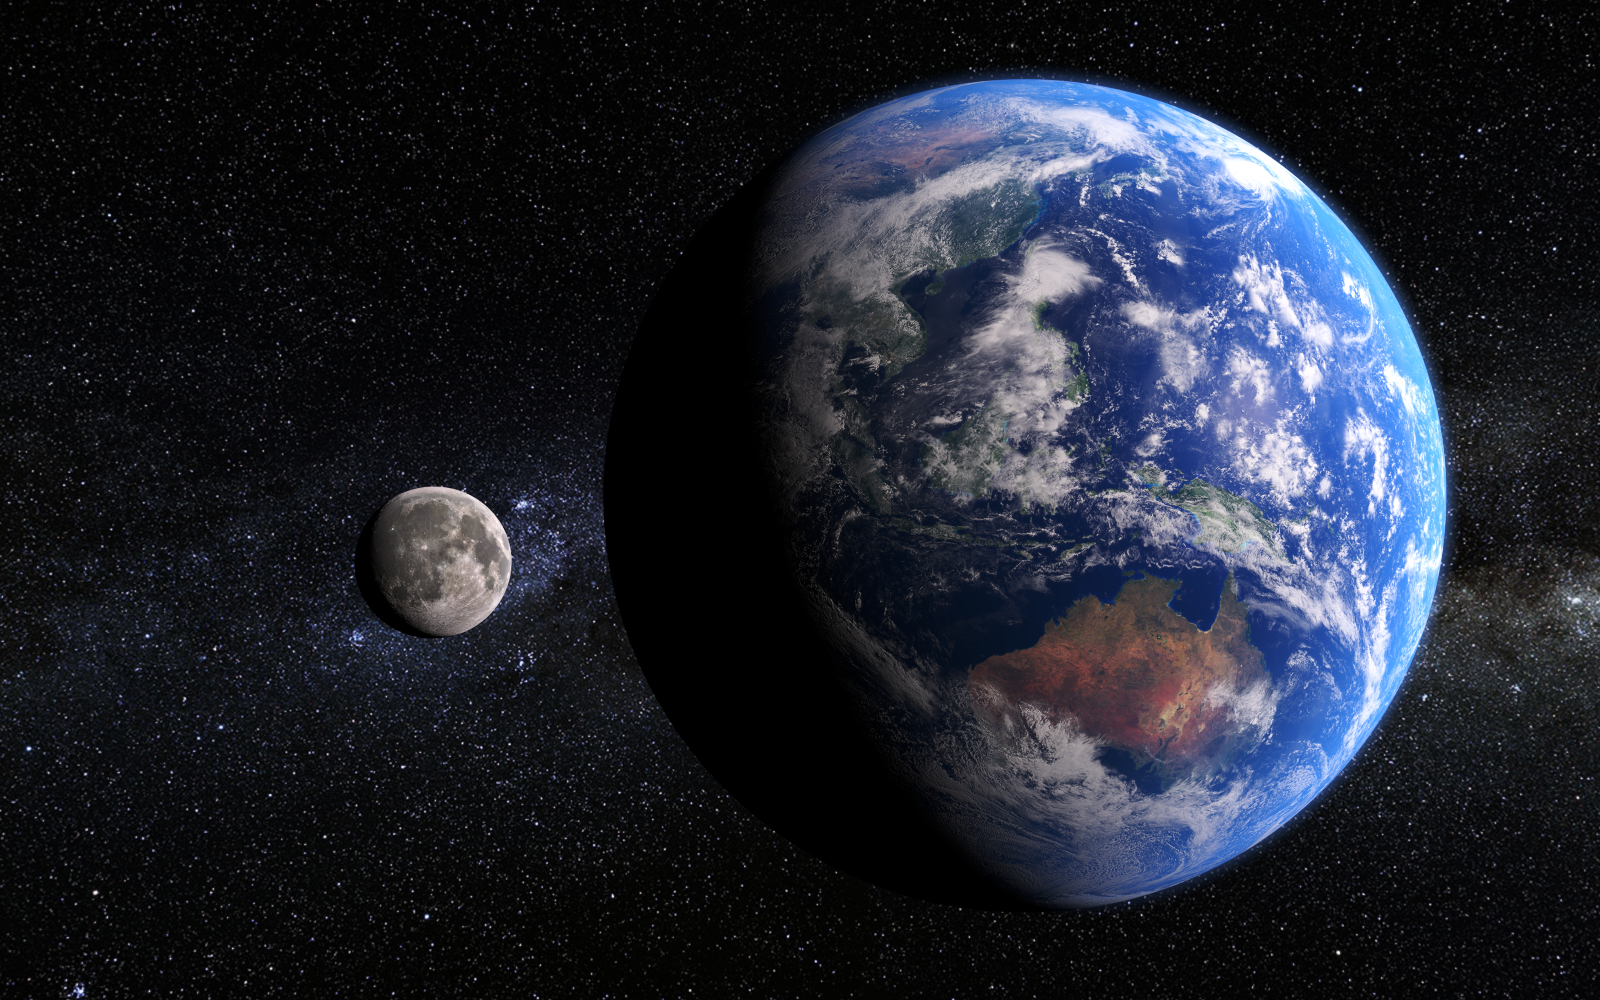
For a brief animation I put together this wrap-around-a-globe background image, based on the Earth scene I downloaded from Blender Swap. This is a sample of a 10,000 by 8,000 render - the biggest I've ever done by a long long shot. Suddenly I realise why all my environmental backgrounds have failed in the past -- my background images were about one tenth of the size required to avoid horrible artefacts from appearing.

Thursday, 13 March 2014

Video


So it struck me that I have never touched anything to do with animation. Quite common with me. Animation is hard and it's only done when you have models worthy of the great effort. I don't often get past texture mapping...

Well I thought I'd lay in some keyframes and see how Blender handles the basics. Not much to see - just a jolly big landscape that I knocked together in 5 minutes using an existing height map.

Wednesday, 26 February 2014

Bucket


Took a quick break from deck plans. I just needed something simple that I could nail in an hour. You got bucket! I did some work on the textures but they didn't work.

Building small objects that you can complete quickly is a great exercise for learning modelling. Even the largest models are an exercise in breaking down objects into sub-parts, then breaking down parts into elements and details. The beauty of a small object is that there's less to go wrong and you're either successful or not in a single sit-in.

Friday, 21 February 2014

Ping!

 It just struck me that I have not posted updates for a while. Stopped using Blender? Not at all. I have some other creative work that I need to concentrate on for a little while.

I'm no longer in a tiz about Cycles. I'll accept that my gaming powerhouse GPU doesn't translate into the best CUDA performer. I'll also accept that big scenes will swamp the GPU and render much more slowly than the CPU. Here was a quick test I did to get my head around the differences in quality / samples and render time.

10 samples - instant

100 samples - 7 seconds
1000 samples - 67 seconds

Messing around with materials

I have not had much time to model new stuff -- I knocked this cargo container out in a very short time -- which is why it's not scoring much for accuracy. Does the job though!

Low-ish poly shipping container

Tuesday, 11 February 2014

Name to my pain


So I did some digging, and some more horrifically slow GPU-powered CUDA rendering. It seems that SLI isn't very good for Blender. However, it's not straight forward as this benchmark scene does great work with multiple GPUs.

PC: Ark GTX690 2GPU

PC:Ark GTX690 1GPU

PC: Ark GTX690 CPU

However...

GPU Rendertime:15m41s03

CPU Rendertime: 48s

The difference here is stupendous. The top flight graphics card (or at least it was 12 months ago) lags so far behind the standard CPU render that it becomes a rather sad joke... Scene complexity maybe? The top benchmark scene is very light on polygons.

I learned a lot from http://www.systemagnostic.com/ which covers the issue of Cycles rendering with CUDA in a lot of detail.

Sunday, 9 February 2014

Quick practice box-modelling

Another sketching session - 30 mins or there abouts. This, the Hurricane IV Close Support Aircraft is the result. It's a riff on an earlier 15 minute sketch.


This was another long render. It's weird because suddenly rendering seems slower, or are my scenes getting more complex or featuring assets or using settings that cause cycles to slow? Questions to ponder...

Saturday, 8 February 2014

Earth Cycles


Delighted by the quality of the output but this 800 by 800px still took an hour and forty eight minutes to created. Awesome as it is, that's not a render time I'm used to these days. It's not like I'm running a slow system.


And then...
I made some tucks and tweaks then set a full size rendering going while we took Noah out for some exercise. Another great result but this beast took five hours to render.

Scene available from Blend Swap, created by Adriano

MSVAs Sketchy progress

 The space vehicle sketching continues. Project: Hail Mary provided a ton of inspiration—mostly for the multi-rod form. For MSVAs, this sets...