I bought this amazing Blender Add (age-old story!)
Now, months later I have completely forgotten everything I learned watching the tutorial videos (well some of them).
So I'm going to summerise the steps here, so when I forget the basics again, I can just come back here. For some reason the developer hides the starter tutorials, you need to go to a stand-alone HTML file that comes with the installation.
Why it's here:
Step 1
Use the correct shortcut. It's not "f" because that's used by Fluent Powertools.
Go into a view that shows both a shader panel and a render window set to full render.
Select an object
Ensure it has a material assigned.
In the shader panel use shift+ctrl+f
If you were selecting the material shader the new layer will automatically connect to it.

Plug the mask into the appropriate input on your layer. Tip: Before plugging in to the layer, you can shift+cltr+left click on the new mask to preview it into the output. This gives you a clearer view of what the mask is adding to your material. Once you finish your preview, re-attach the actual material shader.
The basic method of using Materializer is to stack various masks one after the other to get interesting and compex surface effects.
 |
| A crate object quickly created to help do the testing. |
 |
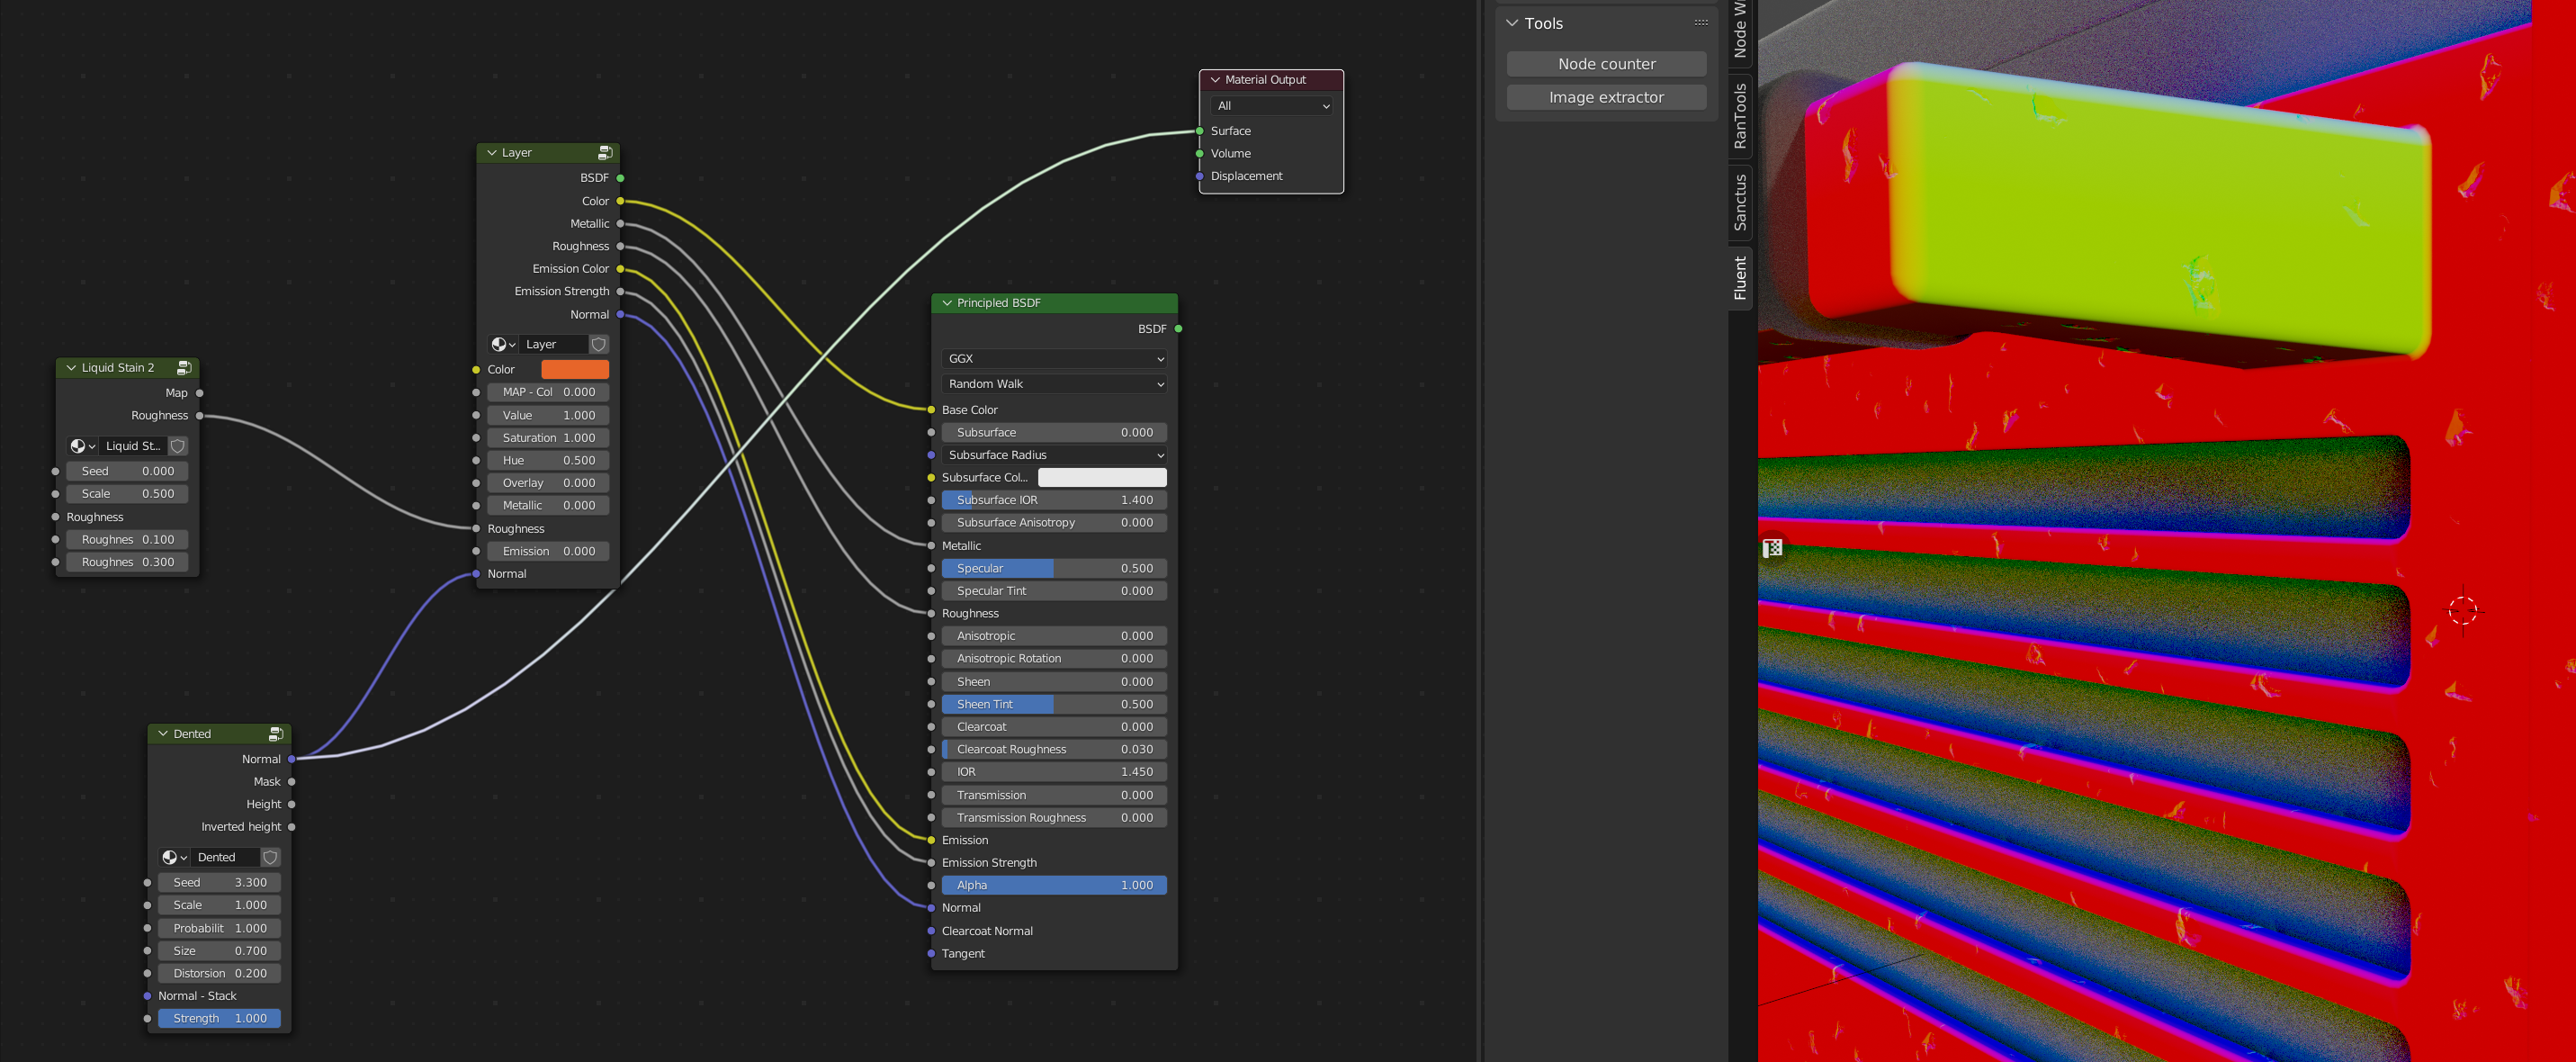
| Mixing surface qualities with Fluent Materializer. |
 |
| By comparison, a Sanctus procedural texture. Super easy to get "roughed up" with minimal inputs. |


No comments:
Post a Comment