I've not forgotten about you, Substance Painter, but I have forgotten nearly everything about you.
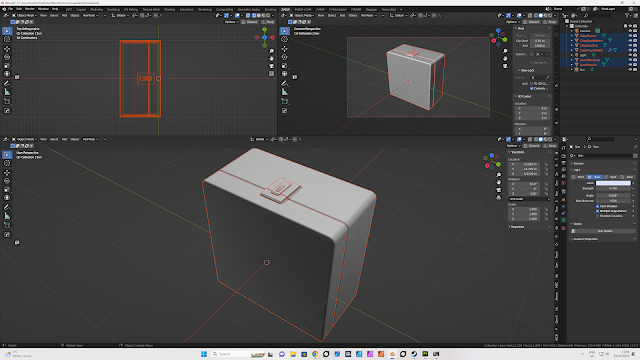
So this morning I decided to start a refresh. One thing I didnt understand was how to select difference parts of an object to be treated as a different material set in SP. Turns out I just needed to assign different colours to objects in Blender.
.png) |
| Model the object: A lunch-box |
Ensure that all parts are given a material. This way, when exported as a FBX, there will be separate colour for each object.
.png) |
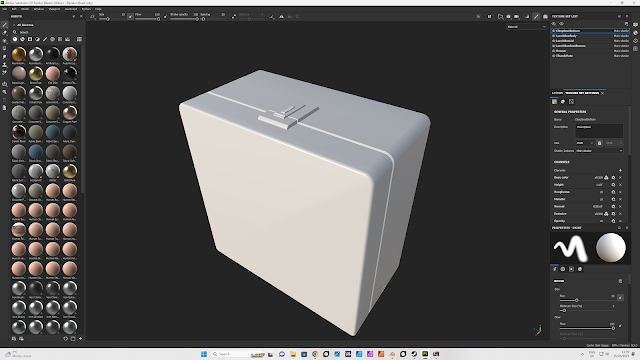
| Import into Substance Painter - Paint! |
.png) |
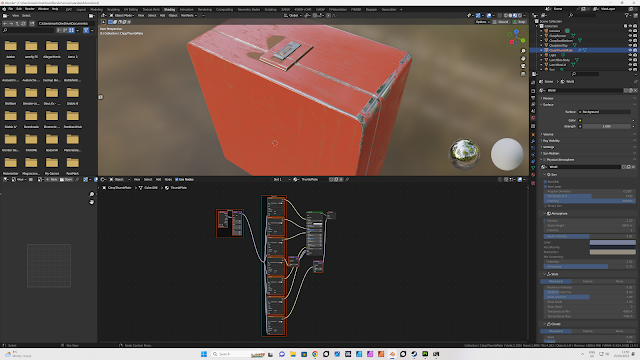
| Once you have exported your maps, return to Blender. |
In the shader workspace, select the material shader, select shift+Cntr+T. This tells Node Wrangler to bring in all the material maps and place them in the appropriate material channel.
 |
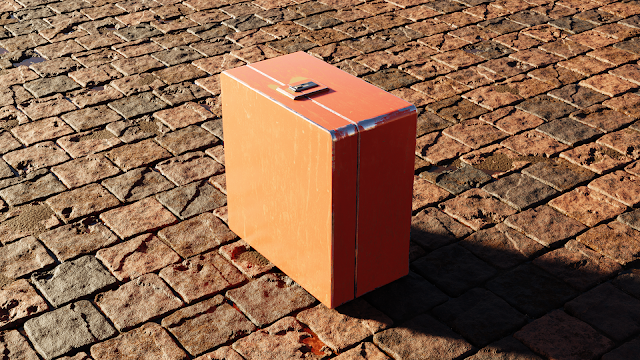
| A very rough output. I just went with a smart material with no modifications. Next time I'll fine-tune the materials. |
.png)
.png)
.png)


No comments:
Post a Comment